What counts as “sediment” (and why it matters)
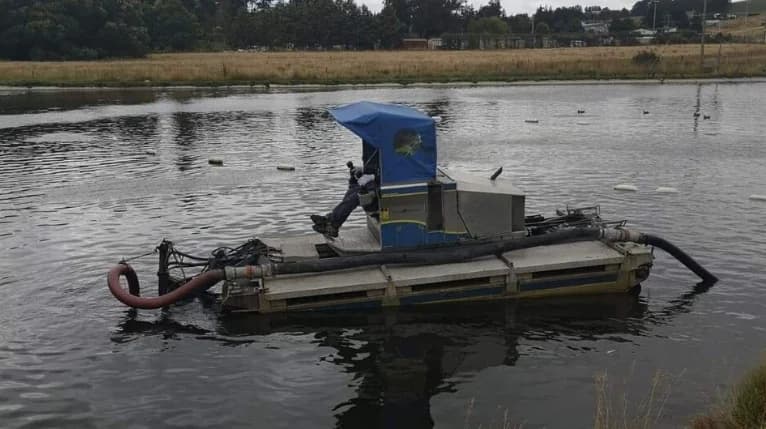
In the field, “sediment” usually means more than sand. Most ponds and lakes accumulate a soft layer of organic muck — decomposed vegetation, algae, windblown organics, and fine particles that settle in corners and coves. That layer holds nutrients, reduces depth, and creates the shallow shelves that accelerate weed growth.
A useful plan separates the lake into zones: areas where you need depth restoration, areas where you need nuisance removal, and areas you can leave alone because they won’t change outcomes.
Signs muck is driving your problems
- Shoreline vegetation spreads farther out each season.
- Water turns cloudy after wind or traffic and stays that way.
- Inlets, coves, and corners fill in faster than the rest of the lake.
- Algae events are frequent and recovery is slow.
When sediment removal is worth it
Sediment removal is most valuable when it changes the physics of the site: restores usable depth, reduces resuspension, and removes nutrient-rich layers that keep fueling blooms and weeds. It’s less valuable when it’s used as a one-time “reset” with no follow-up plan.
If the site is also dealing with surface vegetation mats, start with harvesting so the dredge work area stays visible and shoreline staging stays usable.
Planning steps (the production-ready version)
- Measure depth and muck thickness at hotspots — not a single point.
- Define success: target depth, target area, or target volume removed.
- Choose work order so your shore team can keep up (don’t out-produce your dewatering zone).
- Map traffic flow: where the machine enters, where trucks load, and how traffic exits.
- Confirm disposal before day one: destination, acceptance requirements, and what “ready to haul” looks like.
If you want the plan tied to water-quality outcomes, pair scope with water quality testing so removal targets the layers that actually affect nutrients and clarity.
Dewatering & staging
Dewatering is your throughput governor. If your staging area is too small or too wet, the job slows, handling touches increase, and the shoreline becomes a bottleneck.
Good staging looks like
- Firm access that stays usable after rain.
- Space for wet material to drain without blocking traffic.
- Clear separation between wet work and truck loading.
Red flags to fix early
- Only one access point with no room for traffic flow.
- Staging on a soft bank that turns into ruts.
- “We’ll figure out disposal later.”
Haul routes & disposal
Disposal isn’t an afterthought — it’s where many projects either stay smooth or get expensive. The more touches (move, restack, re-load), the more time the shoreline crew spends handling instead of keeping up with production.
- Confirm destination and what material condition it requires.
- Validate turning radii, gate widths, and weight limits on your route.
- Keep haul traffic out of active work zones when possible.
Timeline & budget drivers
The biggest budget drivers are usually volume uncertainty, disposal distance, and staging constraints — not “how powerful the dredge is.” A good plan reduces uncertainty early so the work window is tight and predictable.
- Volume: thickness measurements drive reality.
- Staging: more space means fewer touches.
- Hauling: distance and constraints stack fast.
- Weather: rain changes banks and schedules.